On this episode of DevTalk I speak to Tomasz Cielecki aka Cheesebaron about his work on the MvvmCross project and what’s coming up in MvvmCross 8.
Links:
Podcast: Play in new window | Download

On this episode of DevTalk I speak to Tomasz Cielecki aka Cheesebaron about his work on the MvvmCross project and what’s coming up in MvvmCross 8.
Links:
Podcast: Play in new window | Download

On episode 15 of DevTalk, I speak to Tomasz Cielecki aka Cheesebaron about MvvmCross, a framework for developing native cross-platform apps using .NET and Xamarin.
Links:
Podcast: Play in new window | Download
When using MvvmCross in a cross-platform mobile project you have the choice of four different approaches for creating the iOS user interface. Xamarin.Forms is one of those approaches that can be a good choice for many use cases (even if there is not graphical designer at this point). However, if your view has very specific visual requirements, it may be necessary to create a native view. There are three different ways you can do this:
MvvmCross supports all three native approaches.
This approach obviously produces the most code. It may be challenging for people new to the platform but it saves you the hassle of battling with the UI designers.
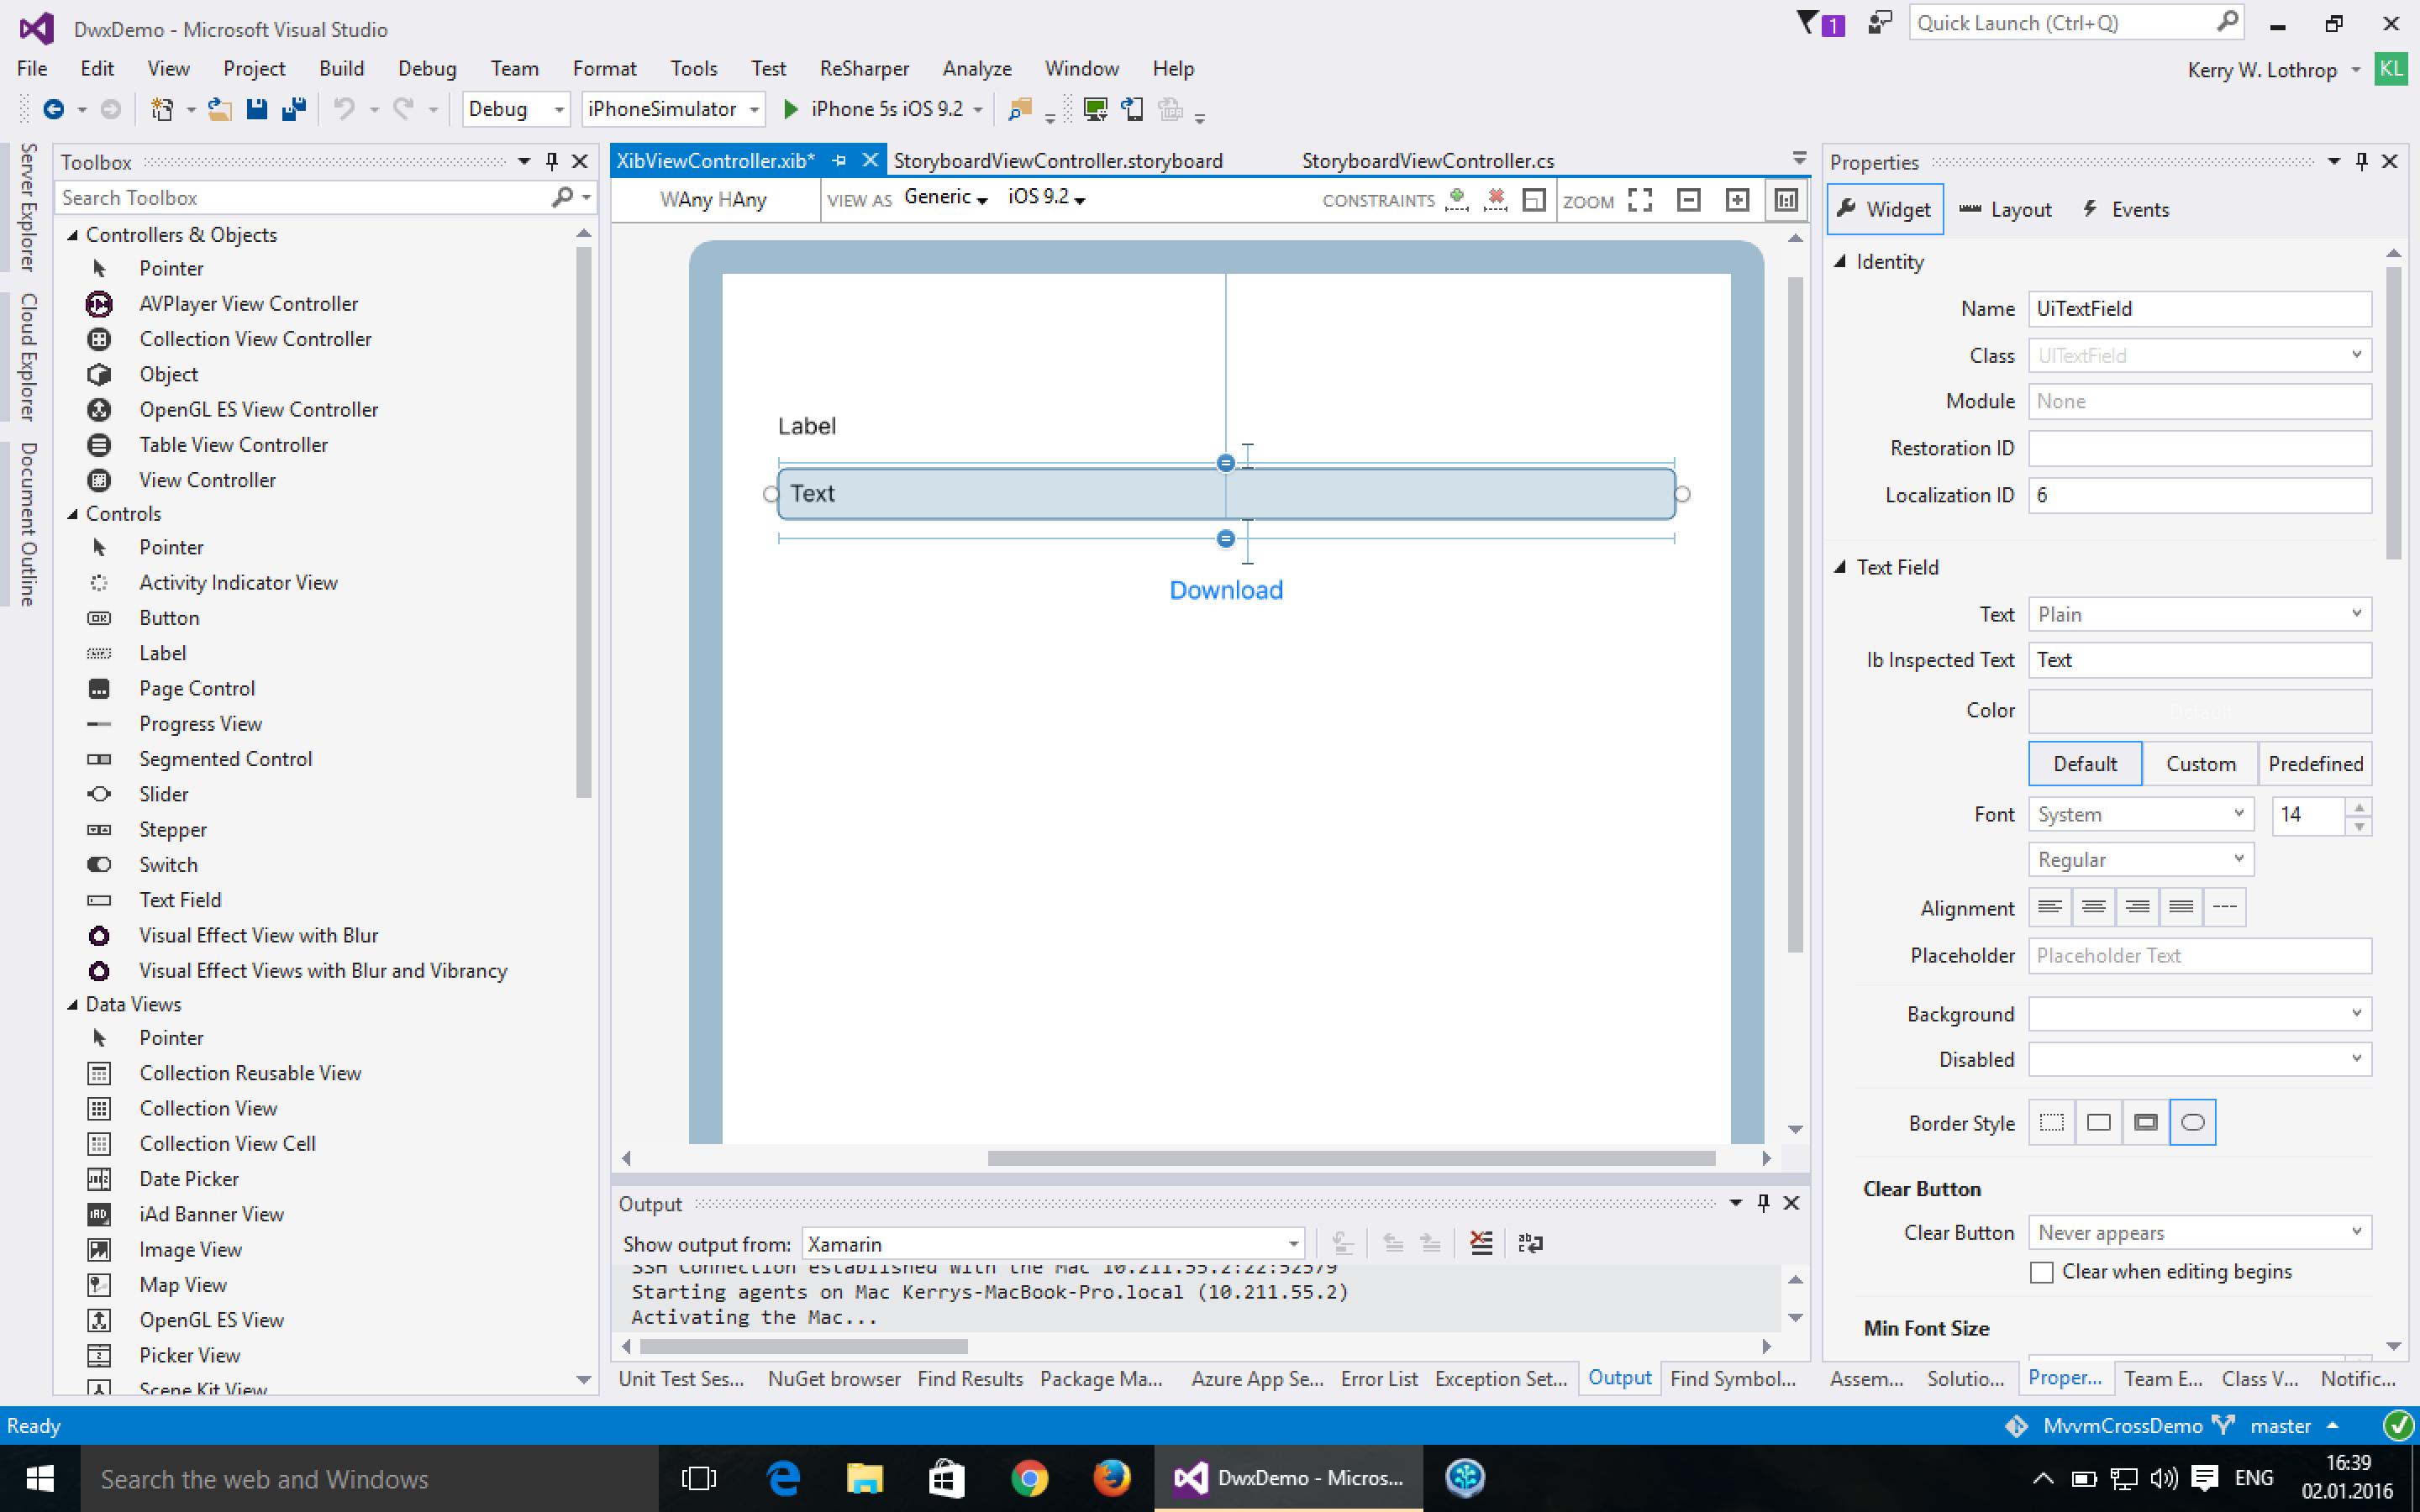
If you’re already on Xamarin 4 and prefer a visual editor, this is likely the best choice for you. Create a new XIB View Controller file using Xamarin Studio or Visual Studio. The ViewController code will also be created for you. All you need to do for MvvmCross is to change the base class from UIViewController to MvxViewController. In the example, three UI elements were created using the designer and were given the (not so creative) names UiLabel, UiTextField, and UiButton. These elements are then referenced in the data binding code that is common to all three approaches.

The big advantage of storyboards, the ability to design your screenflow in the designer, does not fit well with MvvmCross’s cross-platform navigation approach. If you define a transition from view A to view B in the designer it will only apply to the iOS platform. It is typically a better idea to move this navigation logic down into the cross-platform code inside your ViewModels. That is why it’s best to use a one-ViewController-per-storyboard approach when using storyboards in MvvmCross.

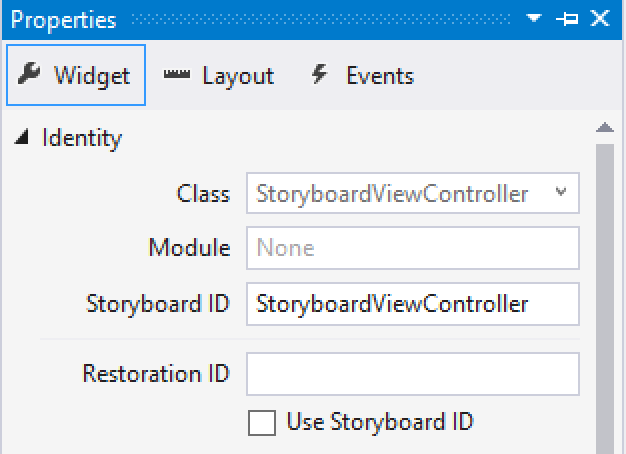
In the editor, you need to set the storyboard ID to the name of your ViewController. As with the XIB approach, change the base class from UIViewController to MvxViewController. Create a constructor taking an IntPtr and passing that on to the base class’s constructor. The last step is to add the [MvxFromStoryboard] attribute to the class.
The good thing is: You don’t have to make this decision at project start. MvvmCross supports implementing your view with the technology that is best for each view. You only need to ensure you don’t have multiple views for the same ViewModel and the same platform.
I’ve updated the example in the MvvmCross Starter Pack Nuget (starting with 4.0.0-beta8) to use a XIB file instead of the previous hand-coded approach with absolute coordinates (from the auto layout days). That should make it easier for people to get started.

At this year’s Developer Week in Nürnberg I held a talk on cross-platform development using Xamarin and MvvmCross. I had a lot of fun with the live coding and enjoyed answering the questions.
My slides can be found on Slideshare in English and German. The code from live coding I created with the big help of Ninja Coder is up on GitHub.

For an iPad app for our customer Smart Enterprise Solutions we wanted to display multiple messages to the user. These messages were mainly feedback from a business logic layer that communicated with a backend. The messages should be visible inside the app. Some messages needed to be confirmed by the user while others needed to disappear after a defined timespan.
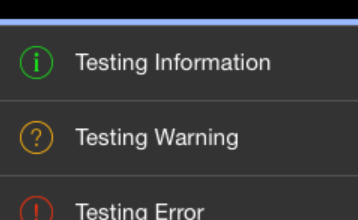
This final status bar looks like this:

The code is available at https://github.com/lothrop/StatusBar.iOS.
The status bar view is called StatusView. To use StatusView, use auto-layouts to snap it to the left, right and bottom of your screen. StatusView is backed by the ViewModel MessageViewModel. MessageViewModel contains an ObservableCollection<IMessageItem>. You can insert items at any point in the collection, remove items or move items within the collection.
For a usage example, take a look at the MainViewController.cs file.
A big thanks to Smart Enterprise Solutions for letting me publish the code.